08-Oct-2025
Presto Instruments
In today’s manufacturing and quality control systems, accuracy is extremely important. When inspecting complicated machine parts, electronic parts, or delicate tools even the smallest change can influence how well machine parts operate and how reliable a tool can be. This is essentially what a profile projector does.
Profile projectors are commonly known in the industry as “optical comparators", and are typically used by engineers and technicians to inspect the shape, size, and geometry of an object with accuracy. This is done by projecting a large shadow of the parts onto a screen so that the user can easily measure and obtain its dimensions, angles and contours. In the next few pages, we will examine how to effectively use a profile projector to deliver precision and reliability.
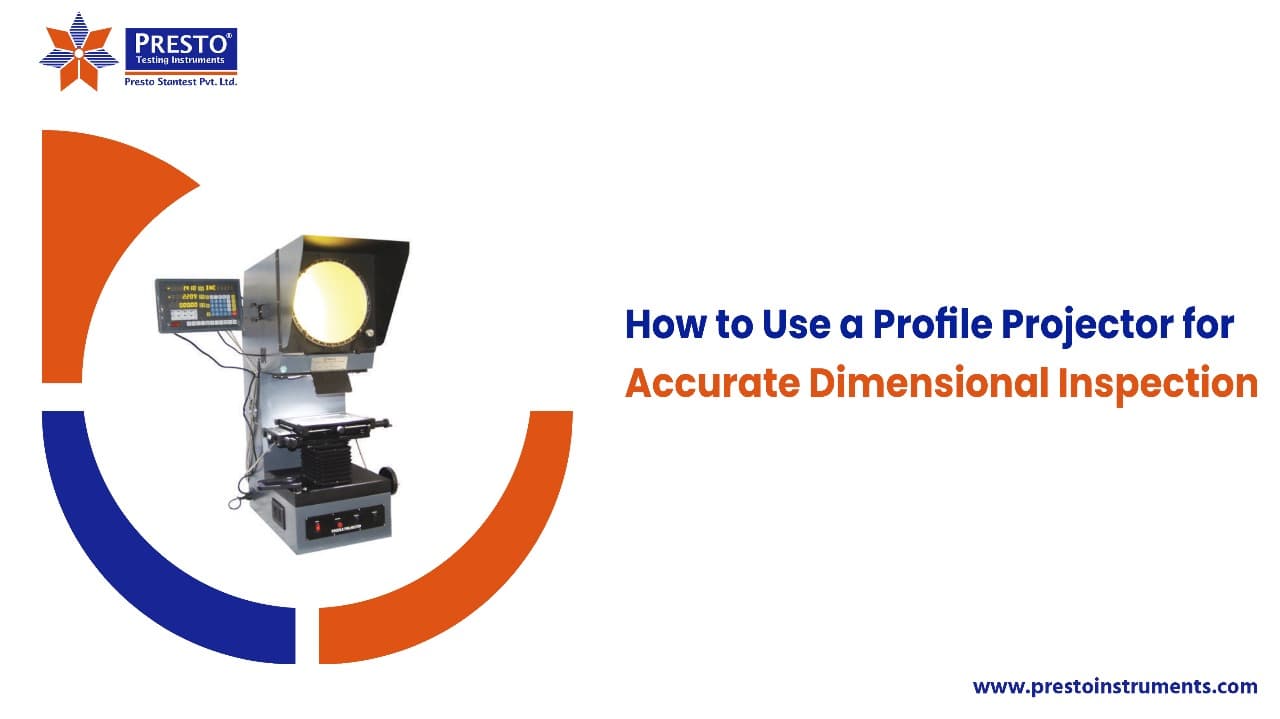
A Profile Projector (also known as an Optical Comparator) is a precision measuring and inspection tool for small, machined parts that projects a magnified and crisp image of the part on a screen so the operator can measure the size, shape, and features of the part. It is used in industrial manufacturing and quality assurance to verify that all offerings pass strict guidelines for tolerances and specifications, and extraordinary precision.
A profile projector consists of a light source, a projection lens, a stage, a projection screen, and a digital readout system, which are all its fundamental components.
Now let's describe each component:
Profile Projector works on the principles of shadow projections and optical magnification using a telecentric optical system to project a magnified and accurate shadow of the workpiece on a projection screen to inspect and measure the object. These projectors use a light source to create a shadow image of an object. The profile or shadow image is then magnified by lenses and projected onto a screen with grids, so the silhouette can be compared to standard and measured.
Operating a Profile Projector consists of several steps such as Preparing the instrument, Setting up the specimen, Aligning the Specimen, Measuring the specimen, Utilizing advanced measurement features, and Recording & reporting results.
Below are the detailed steps:
First, place the profile projector onto a level, vibration-free work surface. Power up the unit and allow it to warm-up for a minimum of five minutes to permit the unit to stabilize. Ensure that the lens and screen are spotless, as dust and particulates will deteriorate the accuracy of the measurement.
Mount the specimen on the glass stage or holding base. Use holding devices or clamps that come with the profile projector manufacturer to firmly hold the part in the correct position for measurement. To get an optimal display of the specimen on the screen, the specimen should be centered over the glass stage.
Adjust the magnifying knob to fit the measurements that need to be made with the specimen. Higher magnification is generally used for smaller parts which require precision measurement, while low magnification will generally be best for larger parts. Once the appropriate magnification is selected, turn the focus knob until the image cast on the screen is clear and well defined.
Alignment is essential in successful measurement. Utilize the X-Y stage controls so that the specimen will move to a reproducible position precisely. Have your features to be measured centered and in good alignment in crosshairs or measurement grid on the projection screen.
Profile Projectors typically use a digital readout system (DRO) so you are able to perform accurate measurements. Use the DRO interface to establish a reference zero point on the feature you wish to measure, and then move the stage to accurately measure between points or features.
There are also a number of modern profile projectors that feature edge measurement, radius measurement, and advanced geometry measurement. While measuring angles, place the lines on the projecting screen, and angular measurements can then be read directly from the DRO.
After all the measurements are done, note down all the related data in a precise and organized fashion. Most Profile Projectors have options for electronically transferring measurements to computers, where they can be recorded and analyzed digitally. Take full advantage of this option so that you can document your record accurately and design quality assurance documentation in a timely fashion.
A Profile Projector is a key instrument for precision engineering to help industries achieve continuous dimensional quality. It is important to know and understand its components, how it works, and the appropriate procedure for operating equipment so that the user can achieve reliable and consistent results.
Using a profile projector is useful for inspecting and/or measuring small machine components, tools, and molded pieces. Once an operator knows how to operate the Profile Projector effectively the result will be better quality products and a more efficient manufacturing process.
Elevate your quality assurance process to new heights
At Presto, we take pride in being Global manufacturers of Laboratory Testing Instruments for different industries.